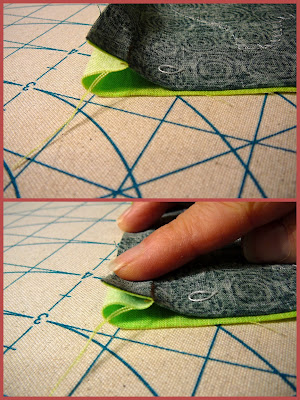
 I have a patch pocket construction technique that I have used for many years. As I am using it again
in the pockets for the Christmas aprons, I thought I would share a little tutorial.
This method makes a 1/2" contrasting edge and lining on any patch pocket with a straight upper-edge opening. Bottom shape of the pocket can be other than rectangular.
For a rectangle, no pattern is needed: cut the pocket exterior 1/2" taller and 1" wider than the desired finished pocket. Cut the contrasting pocket lining the same width as the exterior fabric and 1" taller.
 |
| Contrast lining is 1" taller; same width |
With right sides together, lining up the sides and bottom, sew pocket to lining along three sides (not the top), leaving an opening in the bottom for turning. Clip lower corners.
Turn pocket right side out through opening. Press flat. Topstitch or stitch in the ditch along the contrast edge at the top of pocket, for stability.
Topstitch pocket in place along sides and bottom. Done!
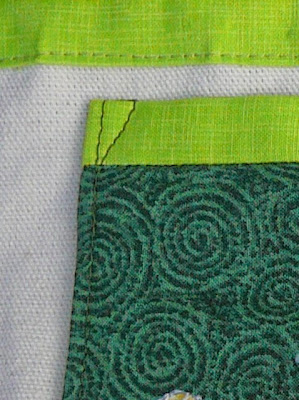
Example of the way I like to stitch the upper edge of the pocket, for reinforcement.
GALLERY: I love this pocket treatment so much...
 |
| Pocket set into side panel |
 |
Interior pockets deserve pretty linings, too!
|
| I even used this pocket treatment when making Oakie's backpack. A traveling penguin needs to be stylish (also, I wanted to combine as many fabrics as possible in one small item). |
 |
| Teeny-tiny pocket |
 |
| Contrasting fabrics: more choices to audition. |


TY, love your tut!
ReplyDeleteGreat idea! I will use this on my next apron.
ReplyDelete